Windows 11 is the latest Windows version after Windows 10 launched by Microsoft. Recently, Microsoft released Windows Subsystem for Android. With this, you can install Android Apps on Windows 11 PC. If you are interested to try, You can also Install Android Apps on Windows 11 PC.
About Windows 11
Windows 11 is the latest windows launched by Microsoft on 5th October. Windows 11 has tons of changes and new features. Windows 11 is majorly focused on User Interface. The UI of Windows 11 is very different from the previous version. It has rounded corners everywhere, New redesigned Settings, New Icons, Taskbar icons are not in the center, and more.
Microsoft recently started rolling out support for Android Apps on Windows 11. Well, You can try this feature only if You are living in the United States and Have enrolled in Beta Program. But, We found a trick with that you can Install Android Apps on Windows 11 PC anywhere in the world. Hope you like it.
How to Enable Android Support in Windows 11 PC?
1 . First of all, We have to Change the Region of the Windows 11 PC.
2. To do so, Go to Settings>Time and Language.
3. Tap on Language and Region and Set your Region to the US.
4. Now, Make sure you have already enrolled for the Windows insider program and Joined Beta preview.
5. Now, Tap on this link and Open it in your Microsoft Store.
6. This is Windows Subsystem for Android that enabled Android Support.
7. Now, You have to Enable Virtual Machine Platform to be able to install Android apps.
8. Click on Windows and Search “Optional features“.
9. Scroll Down and Tap on More Windows Features.
10. Now, Search for Virtual Machine Platform and Enable It.
11. Restart your Windows 11 PC and Now, Your PC is ready to run Android Apps.
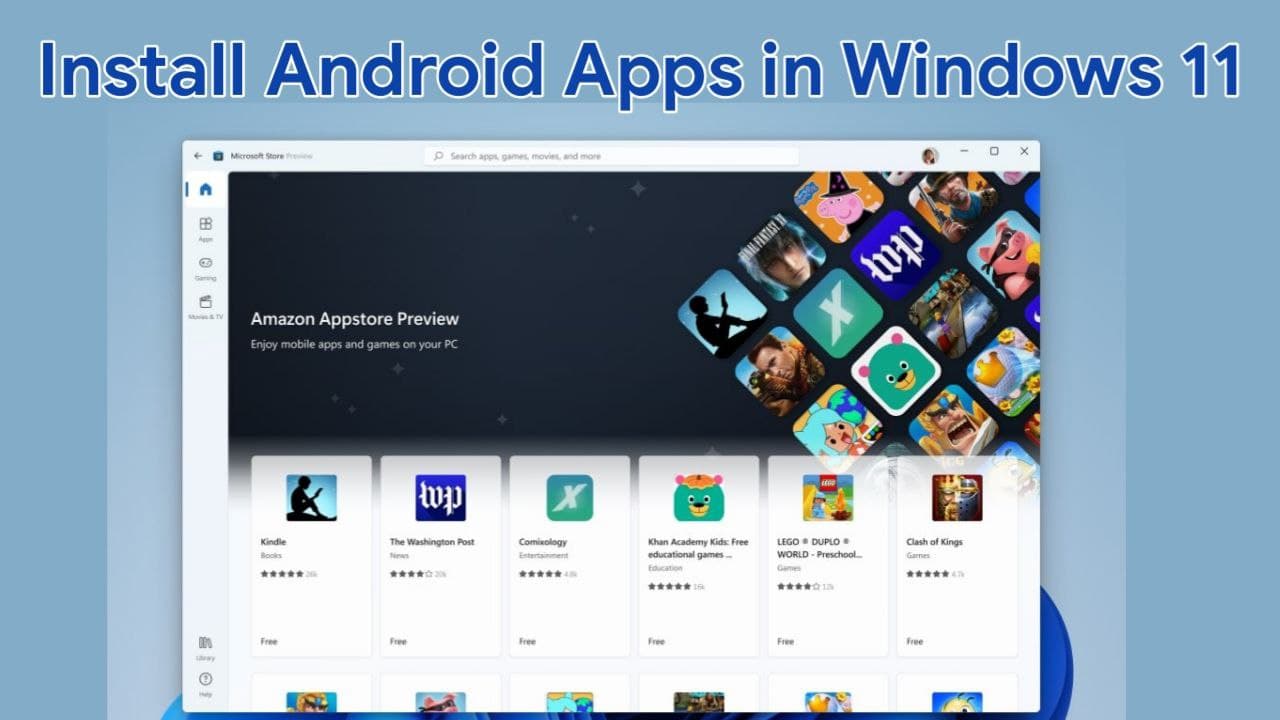
How to Install Android Apps on Windows 11 PC?
You can Install Android Apps on your PC in two ways. First One is Just Installing Amazon App Store from the Microsoft store and Installing a Limited Number of Apps. But there is another way by which you can install any app. Follow the guide below.
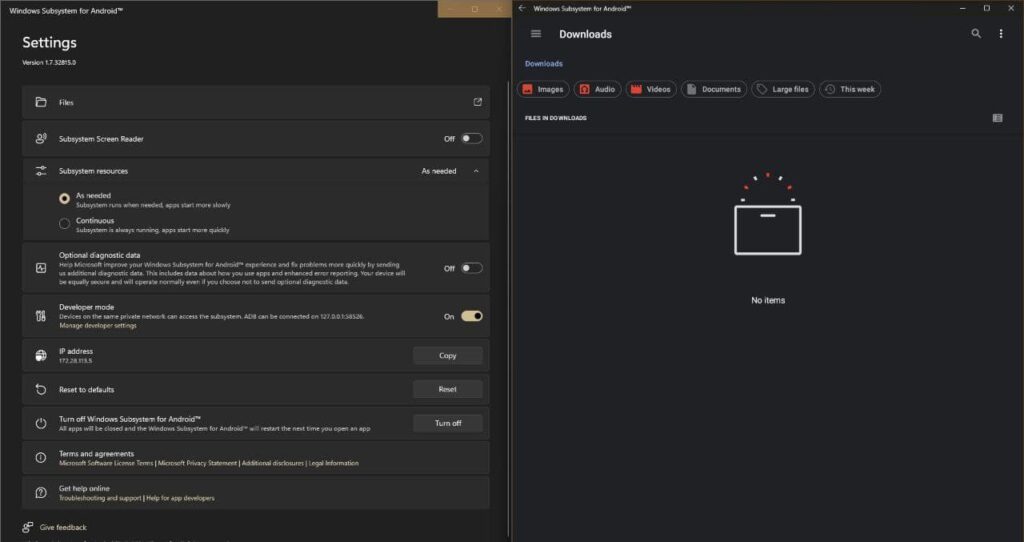
1 . Open Windows Subsystem for Android by Searching.
2. Look for the Developer Mode Option and Enable it.
3. Tap on Manage Developer Settings.
4. Once it opens, Minimize it.
5. Now, You will see a Port Number near the Developer Option. So, Remember it.
6. Now, You need Adb to Install Android apps in Windows 11. (so, Install ADB).
7. Download Android Apk files that you want to install and Copy on the desktop.
8. Open Windows Terminal in Desktop.
9. Type “adb connect 127.0.0.1:<port number>” and Hit Enter.
10. Type “adb install <filename with Extension>” and Hit Enter.
11. Your app should be installed on your PC. You can open it from the Start menu.
This trick is also working for Windows 11 Stable for Some users. You can also try without enrolling in the Beta program.
Thanks for reading this article. If you found this article helpful and interesting, let me know in the comments section and also share it with your friends. For more interesting windows 11 tricks, hacks, Join our Telegram Channel.